Photo at top: Holland, dark rainy wheather, Little Owl (Steenuil), size 22cm, distance 35m, taking rain bath, equivalent 1260mm.
F11: full screen
Why this special APERTURE Mode Birds?
APERTURE Mode Birds is not something brilliant or some clever photographing technique. It is an effective combination of settings of our Nikon camera of the day, usually D500, Z50 or Z7 II and – this is key! – our beloved Nikon optical equipment, those fantastic Phase Fresnel Nikkors and top quality converters providing us with up to 1500mm 35mm equivalent and a handful of common photographing techniques. We optimized and tested our “Aperture Mode Birds” during several years of serious bird photography with lightweight Nikon photographic equipment. Using APERTURE Mode Birds one can during actual photography spend 90% of your time and attention at the birds, their behavior and sometimes quite unexpected activities in stead of all the time changing settings of your camera. Take a look for example at these three pictures:
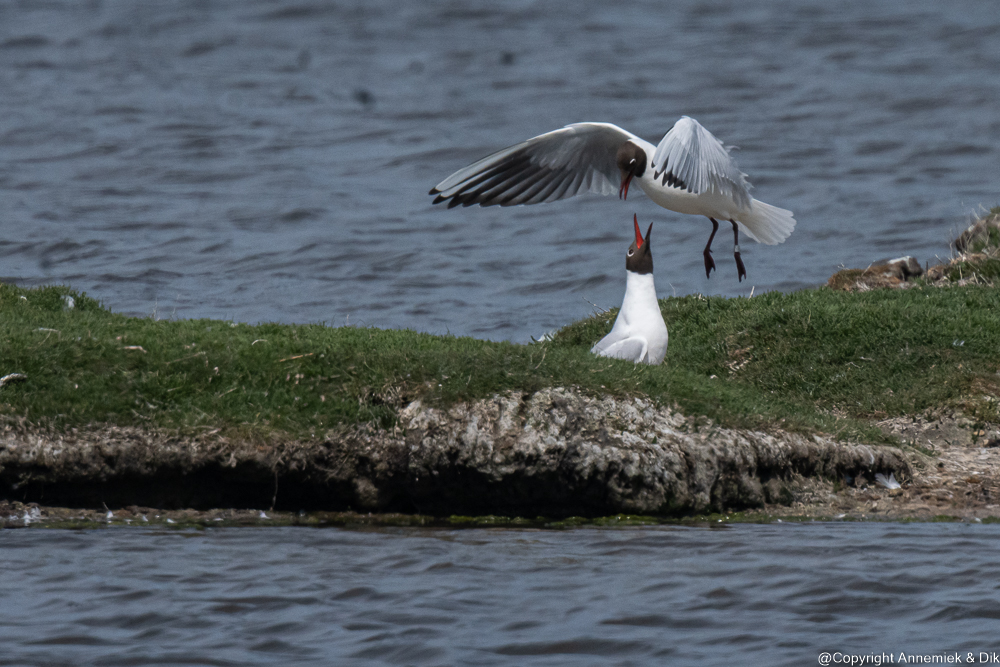
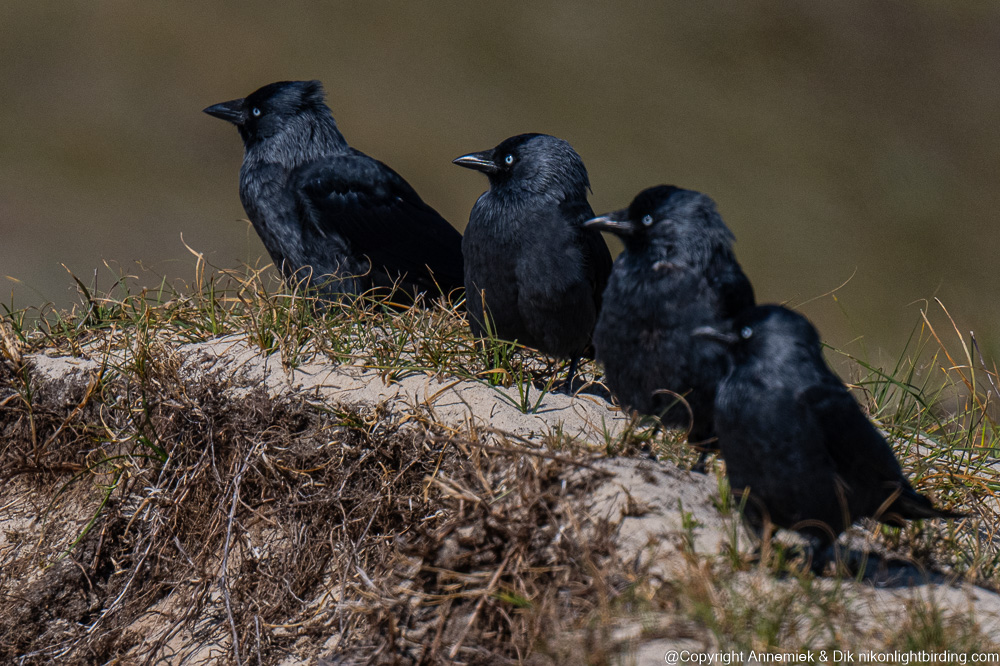
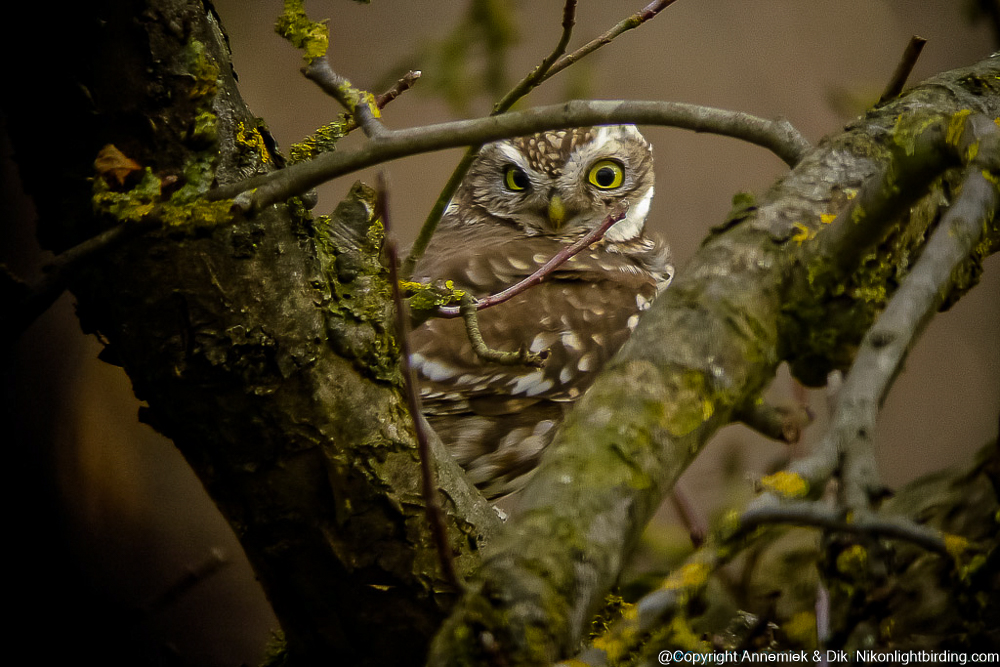
The black-headed Gull above the nest will soon fly away. One or more of the Jackdaws may leave in a while and the Little Owl will not continue staring at you but soon look at something more interesting. These pictures do illustrate the fact that you, during actual bird photography, often may have only seconds to optimize your camera settings and get your pictures right.
Serious lightweight bird photography is far more difficult than one may realize. First of all: it requires good knowledge about birds, their breeding, feeding and migrating habits and their “specific” behavior, species after species after species, at home, abroad, season after season. In addition you need photographing skills and speed of reaction and top quality photographic equipment: camera’s, lenses, converters, binoculars, tripod and or rice bag or (our choice) a stirdy tribike, spare batteries, memory cards, lens cleaning pad, camouflage, boots, and hopefully good light and a bit of luck. Also: during actual photography, you may find yourself almost continuously optimising your camera settings in order to deal with either:
- small birds far away requiring maximal detail and preferably MINIMAL ISO value
- bird action requiring SHORT EXPOSURE TIME and consequently HIGH ISO value
- sudden changes from LARGE BIRDS CLOSE BY to SMALL BIRDS FAR AWAY or vice versa, forcing you to CHANGE LENSNES ORCONVERTERS faster than you can manage or use zoom lenses with sometimes inherent lower quality.
On top of this weather and or amount and or direction of available light may change during the day because the sun suddenly disappears behind a cloud, once more forcing you to change camera settings or lenses or converters. Fom time to time you may like to switch your full frame camera from FX mode to DX mode or vice versa in order to change your perspective or acquire pictures panorama or close up type. In practice you may find yourself, during actual photography, almost continuously checking and resetting values of APERTURE, ISO and EXPOSURE Time (Compensation) and changing lenses andconverters, whereas in fact, during actual bird photography, you would like to:
- use constant large value of APERTURE, getting all the light you can get,
- use short EXPOSURE TIME, being ready for fast bird action,
- seldom change values of ISO sensitivity.
- permanently focus at the birds and their activities and shoot pictures when something interesting happens …

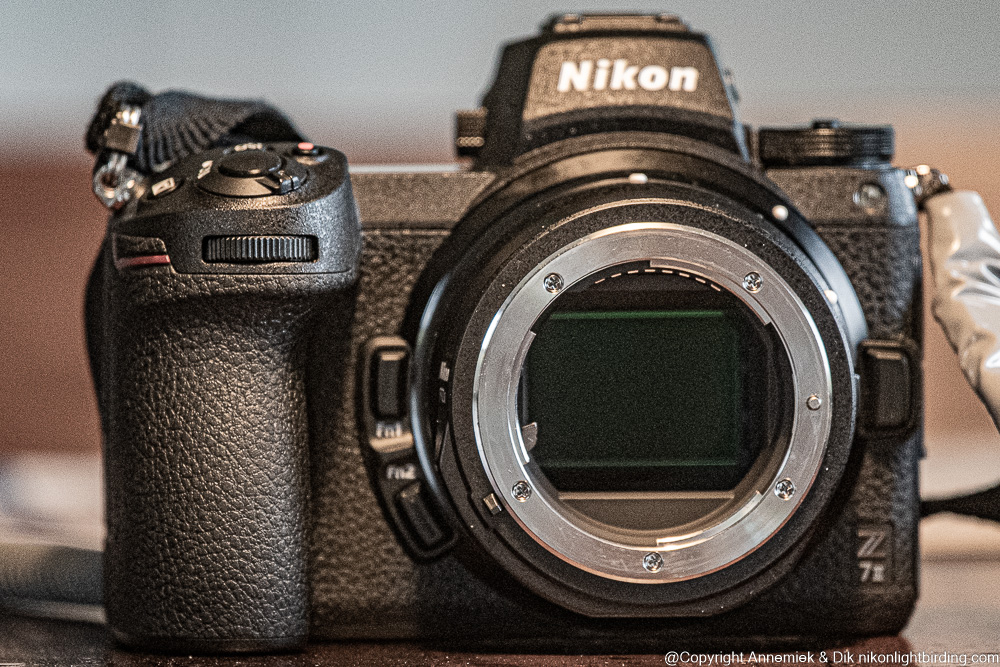
So, If you keep APERTURE value constant and keep EXPOSURE TIME more or less permanently low, only ISO value can be changed and then automatically the question arises: “Can’t I eliminate all this continuous checking & resetting of ISO value and let my clever camera do the thinking and ISO resetting so that I myself can relax and enjoy my birding and photographing instead of spending so much time at this dreadful technical check & reset?” So with quite some trial and error we developed this “APERTURE Mode Birds”. This became a surprisingly effective, comfortable and reliable combination of standard APERTURE mode, Easy EXPOSURE Compensation, Back Button Autofocus, 0.5 – 2 stops systematic underexposure, Automatic ISO Sensitivity Setting and “Focus and recompose“. These techniques, together, happened to fit perfectly into our favorite camera handling mode “APERTURE Mode Birds“. And all this thanks to the fine programmability of Nikon’s D500, Z50 and Z7 II. Our home made “APERTURE Mode Birds” automatizes all other camera settings and really does the trick. It works, every time again, years already! And by the way: one can probably program similar camera’s of Canon, Fujifilm, Leica, Sony and other brands in the same way, although Nikons mirrorless camera’s may always may have this essential advantage of their exceptionally large light transmission-opening (light from lens onto image sensor).
And by the way: we almost never stop down modern Nikkor lenses any more in our bird photography. So the camera gets all available light it needs for reliable autofocus particularly in low light-conditions. Only if maximum detail really is our highest priority we stop down a lens, e. g. Nikon compatible Sigma Sport 600mm TC 1401 or Tamron G2 600mm TC X14.
Some notes regarding Maximal ISO value
By default – in bird photography – ISO value 6.400 is our personal upper limit, preferably even 3.200. Late Nikon DSLR‘s and Z Series MLC’s produce quite acceptable bird pictures at far more high ISO values even two stops up to ISO 12.800. You may judge otherwise but it is definitely worthwhile experimenting at higher ISO values, particularly with our fast moving birds. Take a look at some examples of relatively high ISO values below and at page ISO.

You can find pertinent camera settings for “APERTURE Mode Birds” at Settings Settings A Mode Birds D500 or Settings Z50 A Mode Birds or Settings A Mode Birds Z7 II.
Using APERTURE Mode Birds in the field during actual bird photography
The general idea when using APERTURE Mode Birds is: pick up your camera anytime and thereafter:
- Focus at bird(s). Do not waste time composing, but focus and shoot in-focus picture(s)!
- (Re)compose if you got time or when shooting stills, landscape, no action or the like.
- Press Release button.
Note: (below: for “AF-ON” read: “AF-ON” (D500 or Z7 II) or “AF-L/AE-L” (Z50):
- Ensure lens is wide open; maximal APERTURE value. (Do Not Forget This!).
- Press OK button to ensure AF point is in centre viewfinder. (Do Not Forget This!).
- Point your camera at the bird(s).
- Full press and hold AF-ON (back button focus): camera will perform autofocus in the way you have set it, for example AF Continuous d72 at D500 or AF-C AF-area Wide at Z50, and will continue focussing when you move camera, either because you want to follow bird(s) activity or to recompose the picture. Your camera will also continuously feed back remaining space image buffer as long as you keep pressing Release.
- Press Release every time you want to make a (series of) picture(s).
- Occasionally, if you got the time and if you wish, stop pressing AF-ON and check actual ISO value. Camera will show this any time and as long as you do not press AF-ON.
- Otherwise continue/resume pressing AF-ON as long as you want camera to continue focus & track. Full press Release any time you want to shoot one or more picture(s) at actual distance. Do not press Release when the camera is not actually focused at the bird(s) because camera will then loose its last focus distance completely and may even start hunting! So do NOT touch Release button unless you are assured that camera is focused! Practice this. It is important!
- Do not switch camera OFF as long as you are in the field. It will enter standby mode after 1 minute (if you have set it that way). Preferably leave camera in standby mode all day when you are out photographing and want to be prepared for anything unexpected. If something interesting shows up, camera will be re ready right away.
This way the camera will continue focusing & tracking every time you pick it up and as long as you press AF-On button until you stop shooting or card is full or battery is empty or you switch camera off.
Only by exception and very occasionally you may have to adjust EXPOSURE TIME via subdial (now set as your EXPOSURE TIME compensation +/- button), and only if amount or direction of light changes significantly. Even if you have no time to do this your Nikon will usually still produce acceptable, for example in Adobe Lightroom, correctable pictures.
In this way you can control, via subdial, EXPOSURE TIME, easily counting in half stops (if you have set it this way). Even if you have no time to reset this, you will get acceptable pictures, anyway never blurred pictures or pictures with unnecessary high ISO values and noise. The camera will be able to handle almost any situation. The room for EXPOSURE compensation in modern Nikon digital camera’s is about 5 stops: +/- 2.5 stops. Try it out, you will but occasionally have to use the subdial and change the amout of UNDER EXPOSURE when the situation changes drastically, like when:
- (Expected) species, activity or speed (flying or moving) of birds change completely.
- Sunlight (re-)appears after clouds have drifted away or vice versa.
- Your bird moves from deep shadow to direct sunlight or vice versa.
- You have to redirect camera from backlight to front light or vice versa.
Every time suddenly something interesting happens around you, you can pick up the camera and press Release. It will do what you have set it to do…
More about Automatic ISO Sensitivity control
Make sure you do understand this correctly: Your “clever” D500, Z50 or Z7 II or other modern Nikon camera will try to keep EXPOSURE TIME between the limits you have set for Minimal Shutterspeed and Maximum ISO Sensitivity and, if this happens to be impossible, suggest and use shutterspeed lower than the value set by you. For example requiring a Minimum Shutterspeed 1/1000 in combination with Maximum ISO 6400 effectively means: set EXPOSURE Time to 1/1000 second or shorter (like 1/1500 second or even shorter) and try to keep ISO Sensitivity below 6400. If this is impossible, for example when you get insufficient available light, the camera will – in our experience – prioritize high shutterspeed over low ISO values and for example actually use EXPOSURE Time 1/1000 and ISO Sensitivity 9000 or something the like. We think this really makes sense in bird photography: more noise and some loss in color contrast is not as bad as possibly too low shutterspeed and subsequently worthless blurred pictures.
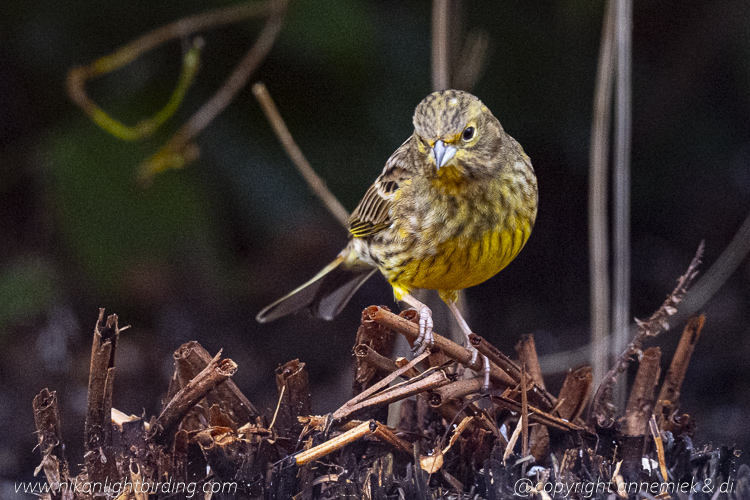
In this context: recenty february 2026 we observed that Nikon had rather substantially improved the signal-noise ratio of late Z7 II image sensor and we could acquirw quite acceptable pictures up to values like 180.000 ISO. Look at the picture of the Yellowhammer (man Geelgors) in rather dark wheather below for example. So we moved our maximum ISO value APERTURE Mode Birds from 6.400 ISO to 180.000 ISO which implies an upgrade of about two stops, mind you! (We did not yet test this at D500.)
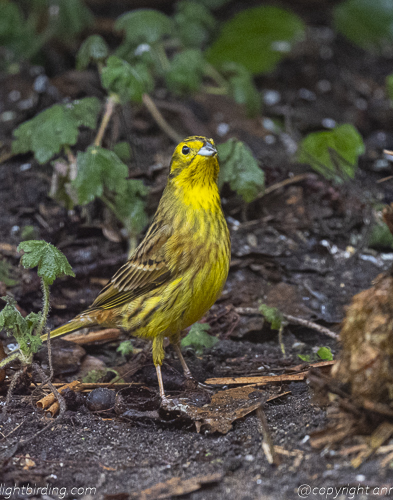
Another one of the same bird in bright sunlight:
Try all this out for a while and change Maximal ISO and Minimal Shutterspeed values camera according to your personal guidelines of image quality and or (expected) weather and or type and speed of birds. Check the results to gain experience in setting those limits. Our experience – several years by now – is, that this A Mode Birds method really works fine. It is extremely comfortable and absolutely reliable in lightweight bird (and general nature) photography, but it takes a bit of time to get the right feel for it. Grant it that time and you will eventually save lots of time.
Using APERTURE Mode Birds you may also notice:
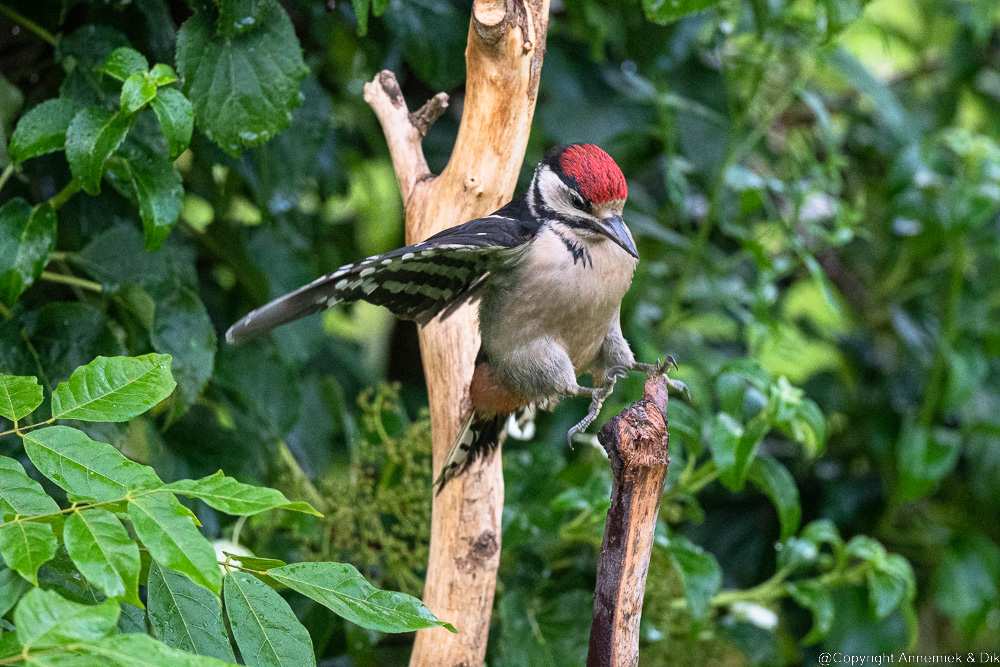
The D500 will keep the optical image in the optical viewer stable, with the advantage that you can better observe, follow and anticipate bird action and redirect your camera accordingly. We tend to use D500 for fast action photography like shooting Woodpeckers (Spechten) and Terns (Sterns) and Z50 or Z7 II for other bird photography, also because we can use our top quality lightweight Nikkor 300mm f/4E PF VR or beloved favorite Nikkor 500mm f/5.6E PF VR giving us a luxurious 1500mm 35mm equivalent with almost no loss in image quality. And once more: it all this is not particularly cheap but wonderful lightweight equipment!
The frame rate may drop somewhat. In our experience D500 drops from 11 FPS to an average of 8 FPS and the Z50 goes from 10 FPS to sometimes 7 FPS. This is not as bad as it sounds: all pictures are de facto in-focus because of your a1-setting. In other words: you are missing blurred pictures only.
So why does this work so well?
Why do you consistently get in-focus pictures and sometimes even surprisingly attractive pictures also when your birds are moving or acting at high speed and your photography feels like you are using a simple “point and shoot camera when using this APERTURE Mode Birds“? This is why:
- You have streamlined your photography via back button autofocus using AF-ON button to focus camera and independently press Release anytime you wish to shoot (a series of) picture(s) using forefinger & thumb only.
- You now comfortably use Easy EXPOSURE TIME Compensation +/- with thumb on the large back wheel of the camera and you keep one hand free for handling or redirecting tripod, camera or lens. In fact you have “dahboard” of your camera in such a way that you now always use the left button on top of the camera for reviewing you pictures and your right hand only for controlling, in a very safe and easy way via back wheel, the exact amount of light the image sensor will receive.
- You are committed to RAW workflow using professional image editing software for example Lightroom.
- Either: your mirrorless camera Z50 or Z7 II or other Z camera is set to focus and track fast flying birds in APERTURE Mode with always maximal APERTURE value.
- Or: your D500 or other DSLR is optimized for accurate focus and track via dynamic anticipating mode using 25 or 72 AF points.
- Yourcamera is optimized for accurate focus and track in AF-C wide AF area (L) and either way you can continuously focus and track bird(s) and recompose at wish.
- The camera uses Automatic ISO sensitivity control via a lightning fast processor and you have put your personal preference in bird photography concerning ISO sensitivity and shutterspeed into its memory.
- As the overall result your camera now gathers maximum amount of light during optimal EXPOSURE TIME to produce in-focus, detailed pictures according to your preference of optimal EXPOSURE TIME and ISO in bird photography.The camera shoots your pictures of birds and other life. During actual photography you can relax and dedicate all your time to enjoy nature, birds and other wildlife, anticipate interesting action and press Release precisely at the right moments, in stead of all the time resetting ISO, EXPOSURE Time, etcetera. You now shoot pictures like this one below (notice the optimal trade off EXPOSURE TIME 1/1250 second and ISO value 4000):
Examples of pictures using APERTURE Mode Birds
To illustrate this we will show quite a few pictures demonstrating the wide applicability of this method of photographing birds (and other life) and their (its) behavior.
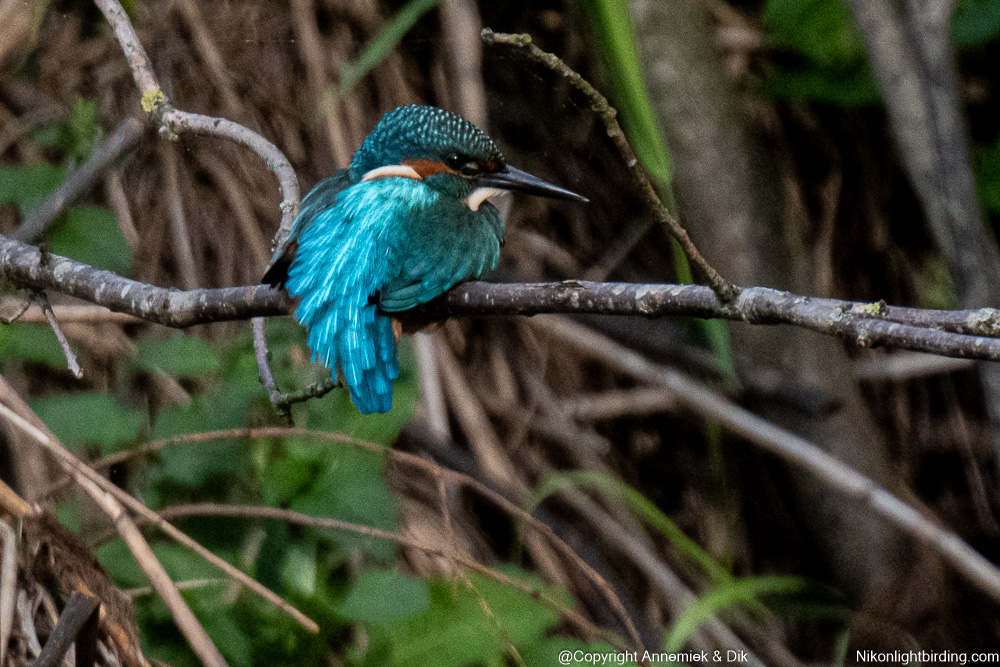


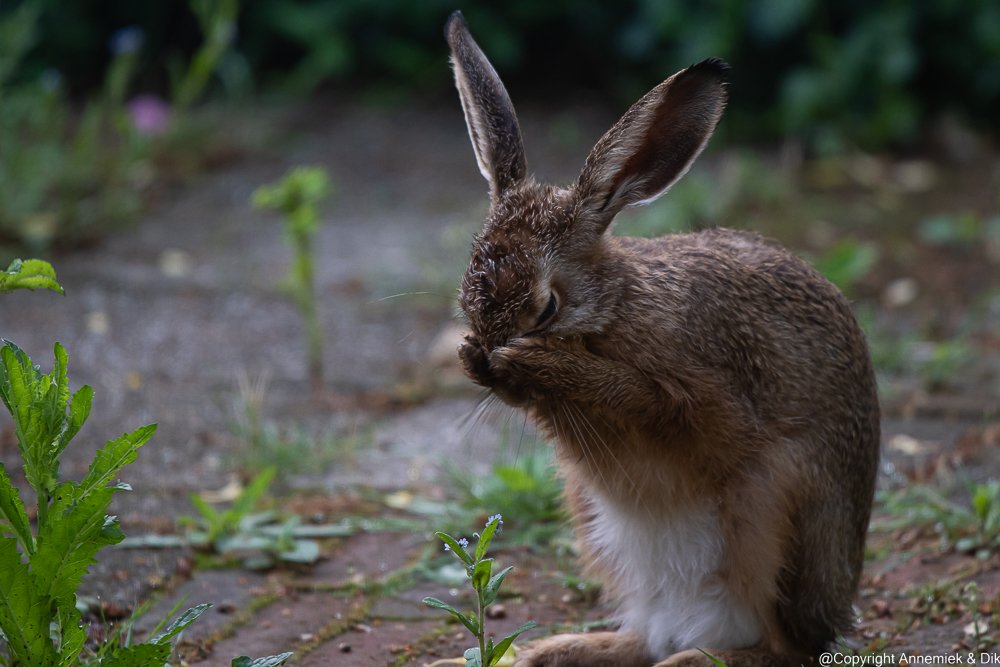
Small birds relatively far away or unexpected action birds or other animls:
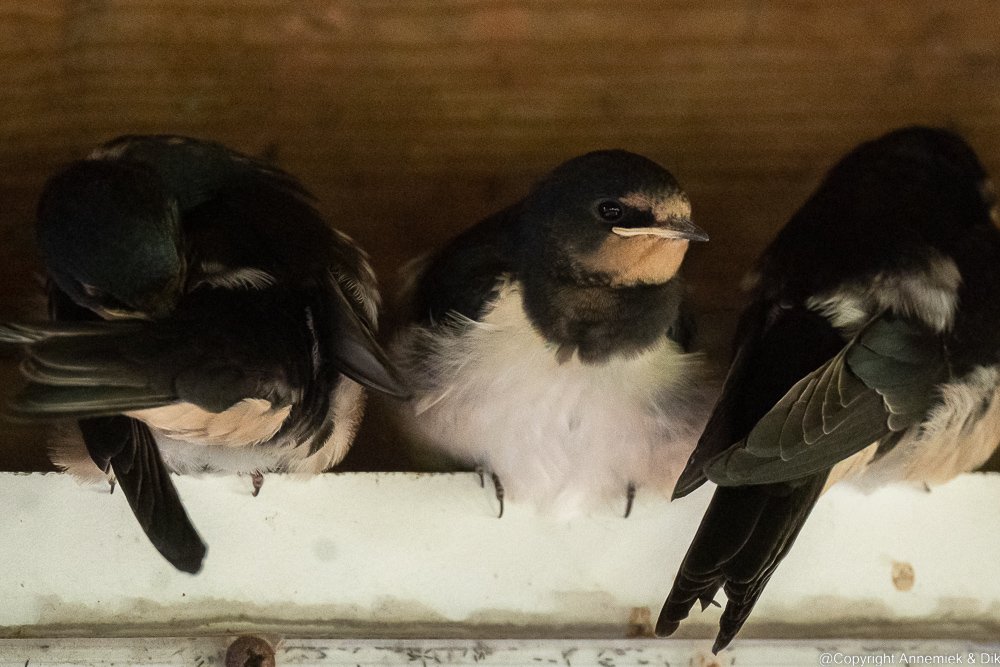

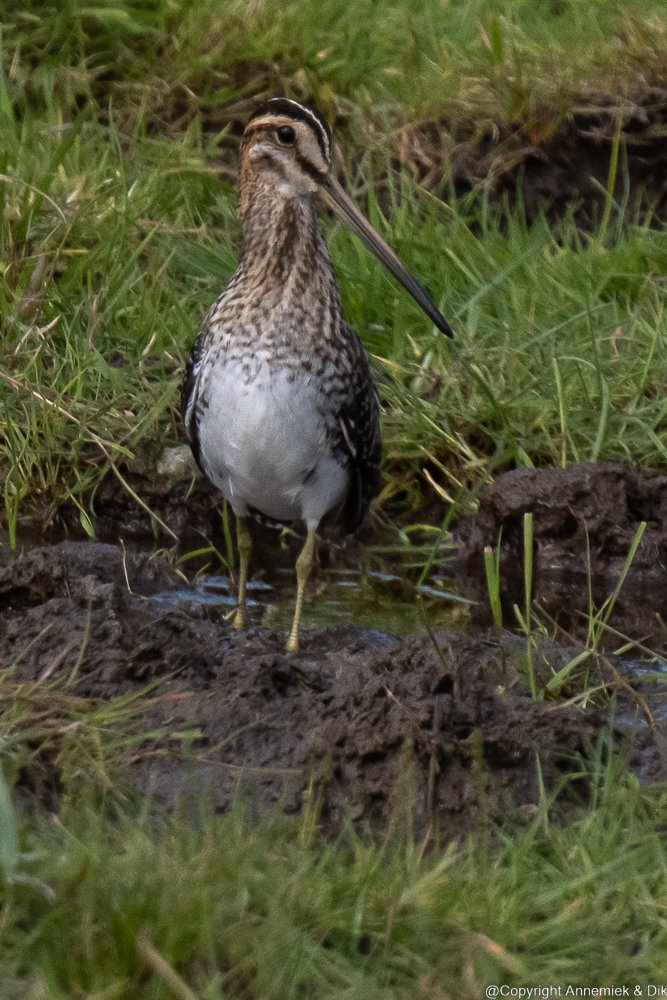


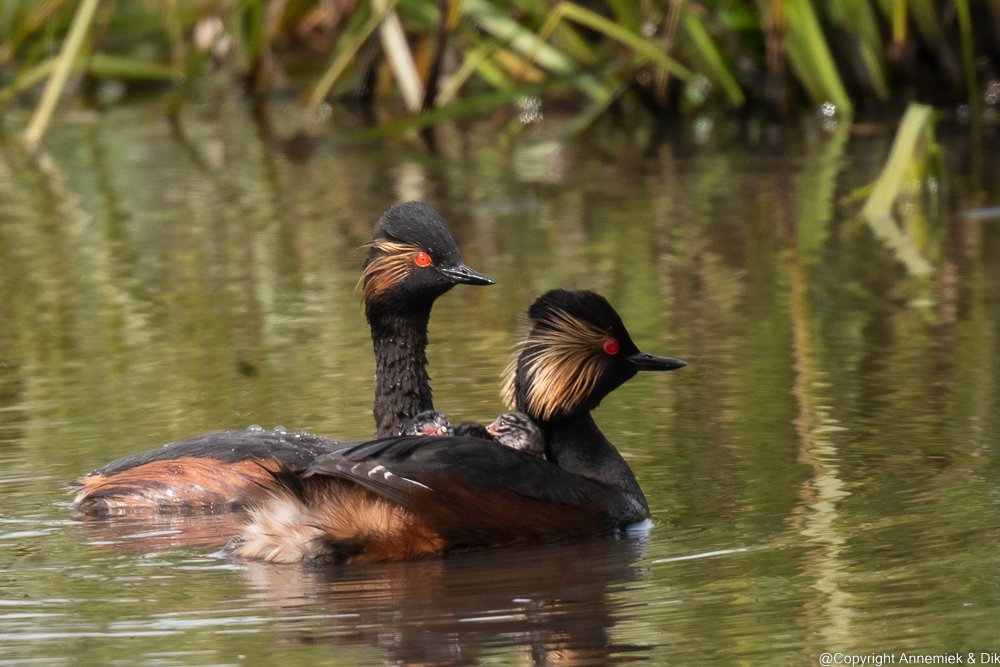


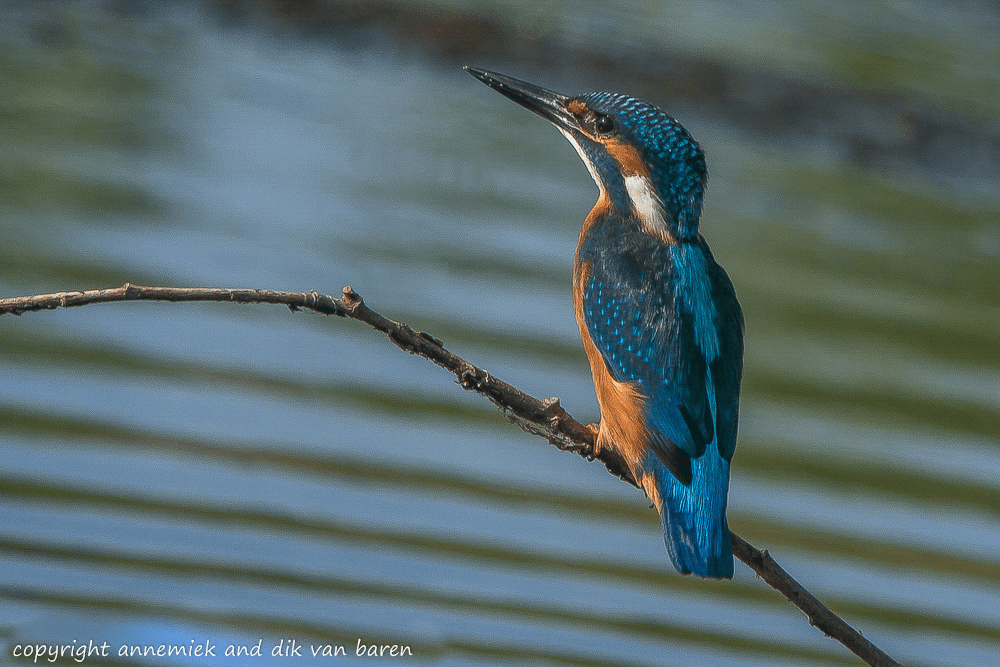


More small birds far away and or unexpected action or situation:


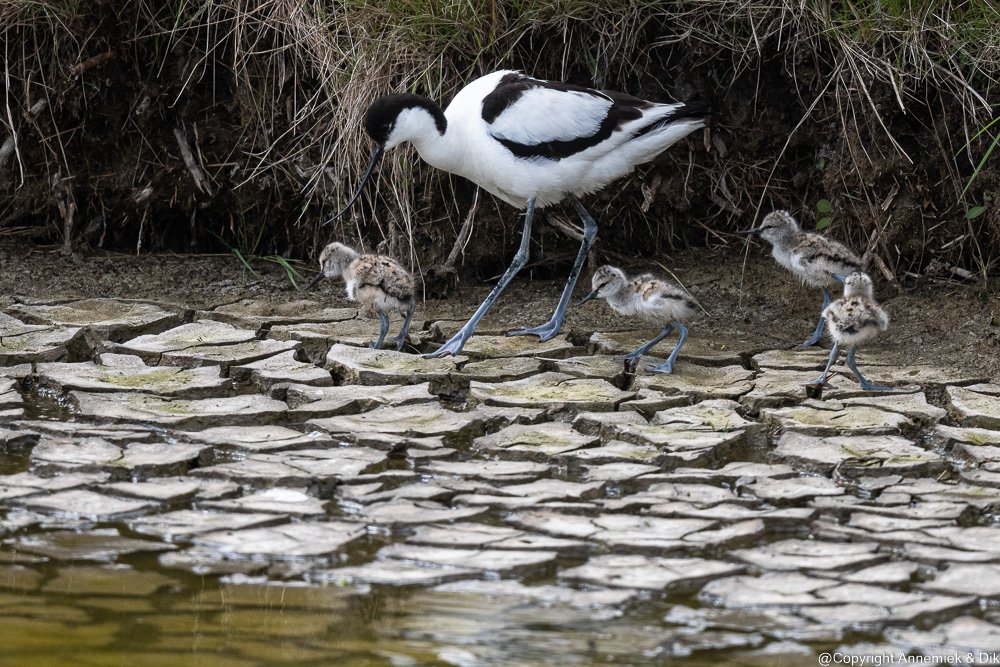


And once more small birds far away and or unexpected action or situation:


…