Photo at top: Holland Kingfisher (IJsvogel) juvenile in deep shadow first days out nest size16cm distance 20m equivalent 1500mm Z50 Nikkor 500mm f/5.6E PF VR APERTURE Mode Birds 1/1000 second f/11 ISO 3600 -1.0EV. Crop 3000 x 2000. (1/1000 sec because we anticipated action).
Photo at top: F11 full screen
@dik upldt pars lists tbl modes em
Bird photography is about:
- Birds: Noticing birds timely and getting close enough to get detailed pictures also of small birds using your knowledge about appearance, sounds and behaviour of birds.
- Equipment: Using high quality photographic equipment with sufficient reach, the potential to produce detailed pictures also of small birds at large distance.
- Focussing: Using high quality photographic equipment to get in-focus pictures and tracking: Using high quality photographic equipment that can keep focussed at and subject track birds flying at high speed or birds moving unexpectedly and also fast bird action like hunting, fighting and mating.
- EXPOSURE: ensure the image sensor of the camera is receiving precisely the amount and type of light to make your pictures technically outstanding: full detail in highlights, lights, shadows and darks, minimal noise, good colours and light contrast.
Special technical difficulties in bird photography
You may experience the following characteristic dfficulties in your bird photography:
- Photographing birds at large distance when you need “reach” (detailed pictures).
- Photographing fast action of birds (“in-focus” pictures).
- Photographing birds in low available light.
The greatest challenge is photographing fast bird action in low light!
We will address all this in the following pages.
What is and when should you use “Raw workfow”?
“RAW workflow” implies using semi pro equipment and RAW file format for digital pictures. RAW image files are developed into complet picture files and eventually can be printed or published. RAW workflow is a successful approach to bird photography using professional image editing software like Adobe Lightroom.
Anyway a sound alternative is using your camera in Automatic mode “P“, one of four “PASM modes“. The resulting pcitures can be quite good in standard situations. Many bird photographers use this methos. However, if you are a “serious enthousiast” bird photographer and you want detailed and in-focus bird pictures also in borderline situations like birds at large distance or low available light or fast or unexpected bird action, you need the complete RAW workflow.
About RAW images
If you set your camera to QUALITY RAW it will produce digital RAW images which are more or less rather unprintable. They may look pale and need extra sharpening, more light and colour contrast. Use professional editing software like Adobe Lightroom, Nikon ViewNX, Capture NX or DXO software. This approach in digital photography is called “RAW workflow“. Images produced by the camera image sensor will not be touched by the camera. You have to crop and edit them into high quality pictures with minimal noise, good light and colour contrast and maximal detail. It implies large files, more work but results in far better pictures. It is all worth it.
An important choice: Nikon, Fujifilm, Panasonic, Sony, Leica, Canon, …
It may be difficult to choose your favourite brand of equipment. For example Nikon, Canon, Fujifilm and Sony are offering modern (system) (mirrorless) camera’s and high quality telelenses suitable for serious lightweight bird photography. Selecting your favourite brand is an important choice. At some point in time migrating to another brand may cost you considerable money.
We ourselves never regretted our NIKON choice. About fifty years ago, our first combination was a Nikon DSLR EL2 with Nikkor 50mm f/1.4. Decades later we got our DSLR D500 and ultra light top quality Nikkor 300mm f/4E PF VR using Phase Fresnel technology which cooperates perfect with the aspherical TC-20E III converter. This lens is still with us. We use it frequently next to its bis big brother, also based on Phase Fresnel technology, lightweight tele Nikkor 500mm f/5.6E PF VR. Both PF lenses are also perfectly usable in combination with Nikon mirrorless Z50 and Z7 II, also supportting TC-20E III and delivering 35mm equivalents up to 1500mm. This is extremely welcome in lightweight bird photography. By the way high quality (semi) pro lenses ans converters tend to keep their value during many years, so once you have built a collection of “good glass”, you can gradually improve your potential and replace your equipment without loosing too much money. Migrating to an other brand usually is financial catastrophe.
RAW workflow consists of a “chain” of activities
Every single step in RAW workflow is indispensable. If you omit one element, the result may not meet your expectations.
- Always use appropiate camouflage to recognise birds in time and get close enough to get sufficient reach.
- Never disturb birds, know their specific behaviour, migration seasons, breeding biology, territorial behaviour, favourite spots of feeding, drinking, bathing, hunting, fishing, etcetera and the type and direction of the light at their favourite spots at different daytimes. This may sound overdone but it can be important if you want good pictures of a special or rare bird.
- When shooting pictures: use Nikons RAW file format, *.NEF, which will give you maximum potential for developing your pictures. Set QUALITY button camera at value RAW lossless compressed 14 bits. The camera will produce minimally processed digital images and compress NEF files lossless so it takes less time and space to transport them through the camera’s databus and buffer onto the memory card. If you choose files using 12 bits RAW lossless the camera will be somewhat faster. We prefer 14 bits RAW because of the significant extra contrast and colour depth.
- Set camera dial to High speed so you are prepared to photograph fast bird action anytime. Any time a Sparrow Hawk or a fast Woodpecker may show up. This instructs the camera to make series of pictures at maximum speed, 10 frames per second at D500 or 9 FPS at Z50.If, at D500, if you also set parameter a1 = release. If you set a1 = focus the numbers will be about 20% lower. The camera exclusively produces in-focus pictures and needs more time for eliminating blurred shots.
- Use high quality equipment like (semi) pro lenses and converters and modern camera’s suitable for lightweight bird photography with high resolution image sensor, speed, focus tracking, low light performance, either APS-C type with crop factor 1.5 like Nikon D500 and Z50, or large full frame viewfinder like Nikon Z7 II, D750, D850. Mind you: the larger field of view will mor often result in pictures with the complete bird in the picture frame in stead of only its tail or nothing.
- Make sure you use optimal settings.
- When actually shooting pictures use correct values of APERTURE, ISO and EXPOSURE TIME and use APERTURE Mode or preferably APERTURE mode Birds REACH or APERTURE mode Birds ACTION.
- Use for example Adobe Lightroom to assign colour labels, stars, flags, and create collections so you can set up an effective classifying system. Don’t underestimate the time you spend in sorting out and classifying digital pictures.
- Possibly use extra tools like the ver efficient Faststone Imageviewer (processes *.NEF files) and Faststone Capture which produces screen shots of (parts of) pictures) and allows you to add annotations to pictures or illistrations. Also Nikons ViewNX is very good tool to check your focus point in certain situations.
- By all means set your software and equipment to use English language. Most software is optimised for English keyboard shortcuts and terminology is English. Camera buttons carry English imprints like A (APERTURE Mode) “AE–L (AutoExposure-Lock)” and almost all technical documentation, forums and Youtube tutorials and most professional online information is in English.
- Build a set of time saving presets (for example in Lightroom for recurring actions like importing, editing, exporting, printing and publishing bird pictures.
- Design and develop a clever (ask for help) system for naming, classifying and cataloging your Gigabytes of pictures. This maybe more important than you think when you are a beginner so take your time and keep changing this system until you are happy with it. And by the way Lightroom Library is the worlds champion in this area.
- Don’t forget to create backups outside your computer (crash, virus!) and outside your home (fire, theft, calamities!).
Converters
Some photographers never use converters and we do appreciate that principle: image quality is their priority one. You do as you like. We use converters frequently and only if we definitely need maximum detail and consideer this a higher priority for example in case of relatively rare small birds or at great distance.
Generally you should not be too afraid to use Nikon, Tamron and Sigma 1.4 converters in bird photography. They are of high optical quality and cause zero to minor degradation in image quality. Of course you always pay a price in available light resulting in lower autofocus performance, however most of the time this approach has proven to be acceptable. Particularly Nikons aspherical TC-20E III is one of our favourites as mentioned before several times. It surprises us time and again: more detail and minimal loss in image quality! So if we have sufficient available light we have no problem using converters in our bird photography. When you consider using converters do practice changing and removing them in the field, you may get but few moments in reality.
Camera modes and techniques frequently used in digital bird photography
In digital bird and wildlife photography one generally uses camera’s APERTURE Mode or Manual mode in combination with a some techniques to optimise image quality for example in low available light, shooting birds at great distance or in fast action. Also one wants to be prepared for unexpected situations or special activities of the birds. Nature is not a zoo and it sometimes offers interesting or even extraordinary surprises including dutch rain showers.
We will review photographic techniques, mentioned in the overview below, in more detail in this blog. In the table below however we want to present you a brief description of commonly used modes and techniques, their advantages and disadvantages.
Overview of camera (P A S M)-modes and techniques frequently used in bird potography.
| CAMERA MODES | FUNCTION or ACTION | advantage | disadvantage | BIRD PHOTOGRAPHY | Notes |
|---|---|---|---|---|---|
| — | |||||
| Program Mode (P) | programmed camera modes | camera automatically optimisesitself for specific situations | photographer no control whatsoever | no optimal image quality | 1) camera default mode also after total reset 2) No RAW workflow |
| — | |||||
| APERTURE Mode (A) | photographer sets APERTURE | birds, wildlife, sport | quite usable | ||
| — | |||||
| Speed Mode (S) | photographer sets Shutterspeed | usable in some situations | |||
| — | |||||
| Manual Mode (M) | photographer sets APERTURE & Shutterspeed | photographer has full control | possibly incorrectly exposed pictures | usable in some situations | sometimes combined with Auto ISO |
| — | |||||
| — | |||||
| TECHNIQUES: | — | ||||
| — | |||||
| — | |||||
| “WB auto | camera sets WB, fine tune in Lightroom | ||||
| — | |||||
| — | |||||
| “Back button AF“ | separates AF from Release | Enables focus & recompose and “APERTURE Mode Birds” | very useful and comfortable | photographer continuously observes birds and their actions; no continuous check & reset camera | |
| — | |||||
| — | |||||
| Focus & recompose | focus, recompose picture preserving focus, then shoot picture | the only solution in some situations | a special technique like BBAF is prerequiste | quite usable | often required in bird photography |
| — | |||||
| — | |||||
| Auto ISO | camera sets ISO | 1) enables A Mode Plus 2) uses limits EXPOSURE TIME & ISO defined by photographer | almost none | highly useful | 1) ISO Sensitivity limited by Maximal ISO & Minimal shutterspeed values 2) remaning buffer space continuously reported by camera |
| — | |||||
| — | |||||
| EXP. Compensation +/- | overexpose or underexpose picture | very useful | |||
| — | |||||
| — | |||||
| EASY EXP. Corr. +/- | EXPOSURE Time Correction +/- assigned to subdial | enables one hand- operation | Careful! EXPOSURE Correction +/- set if one resets ISO without pressing ISO button! | set b4 Z50, b2 D500 | |
| — | |||||
| — | |||||
| Stop down lens | decrease APERTURE lens 0.5 -1.0 stop | some more detail | minimal effect modern Nikon tele’s | varies by lens | |
| — | |||||
| — | |||||
| Underexpose image sensor | photographer deliberately uses EXPOSURE compensation +/- | preseves detail highlights picture | definitely worthwhile | -0.5- 2.5 stops: | |
| — | |||||
| — | |||||
| APERTURE Mode Birds | only AF-ON & RELEASE pressed & rarely also subdial for EASY (+/-) | quick, easy, high quality photographing | takes few days practicing | our preferred method high quality lightweight bird photography | only observe birds and, only very rarely check & reset camera |
| — | — | — | — | — | — |
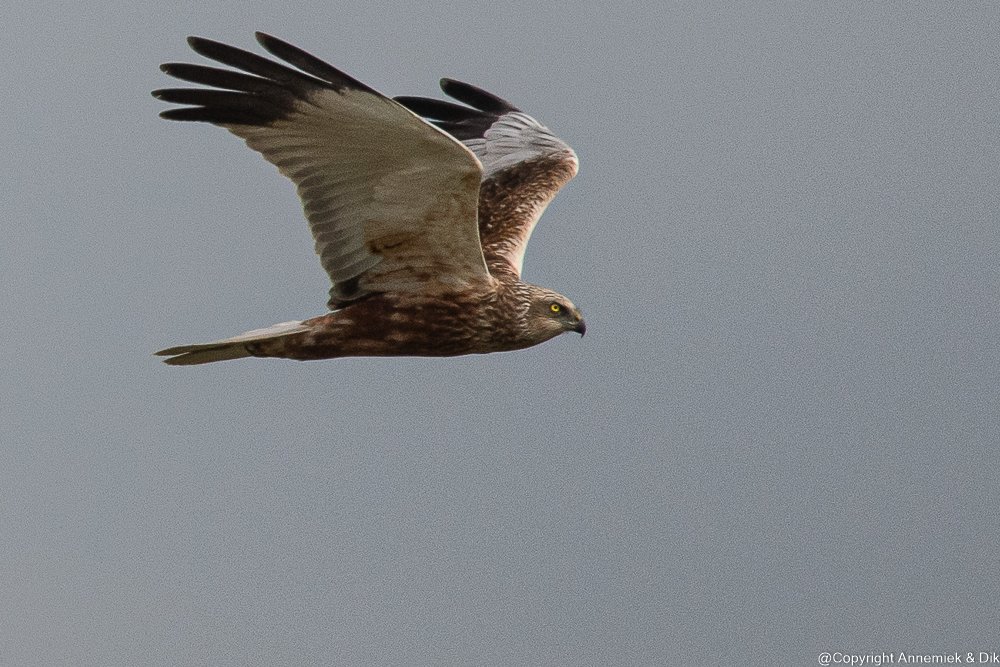
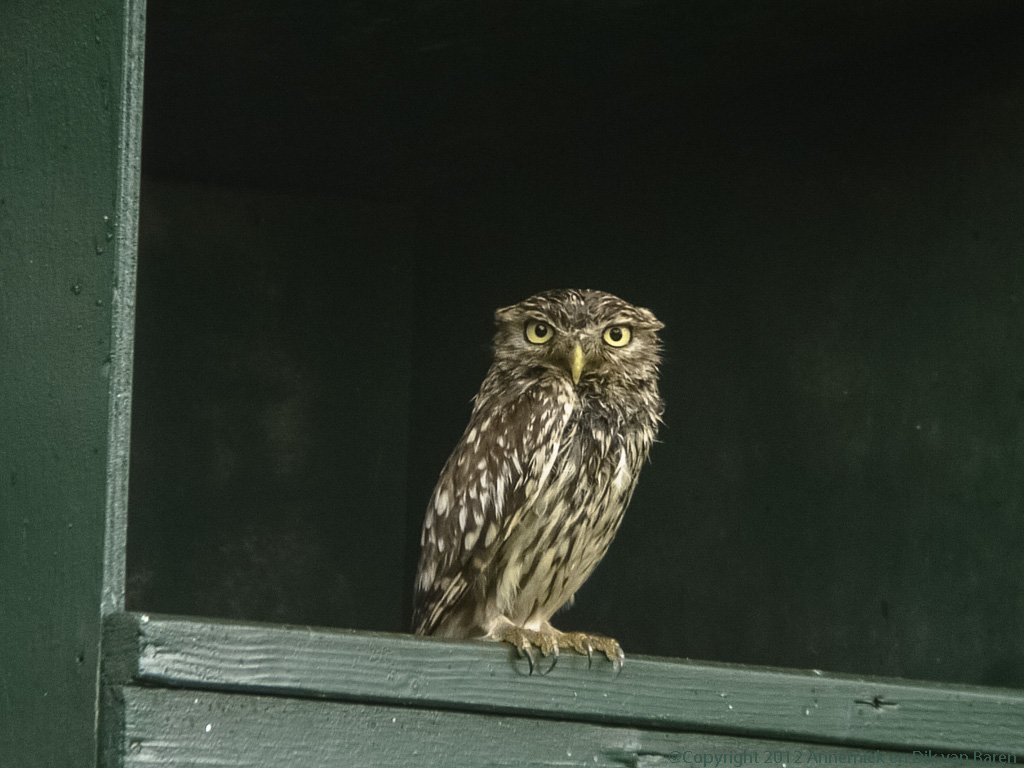
Pictures created using RAW workflow and various photographic techniques
(F11 full screen, mouse click start, Esc stop:)


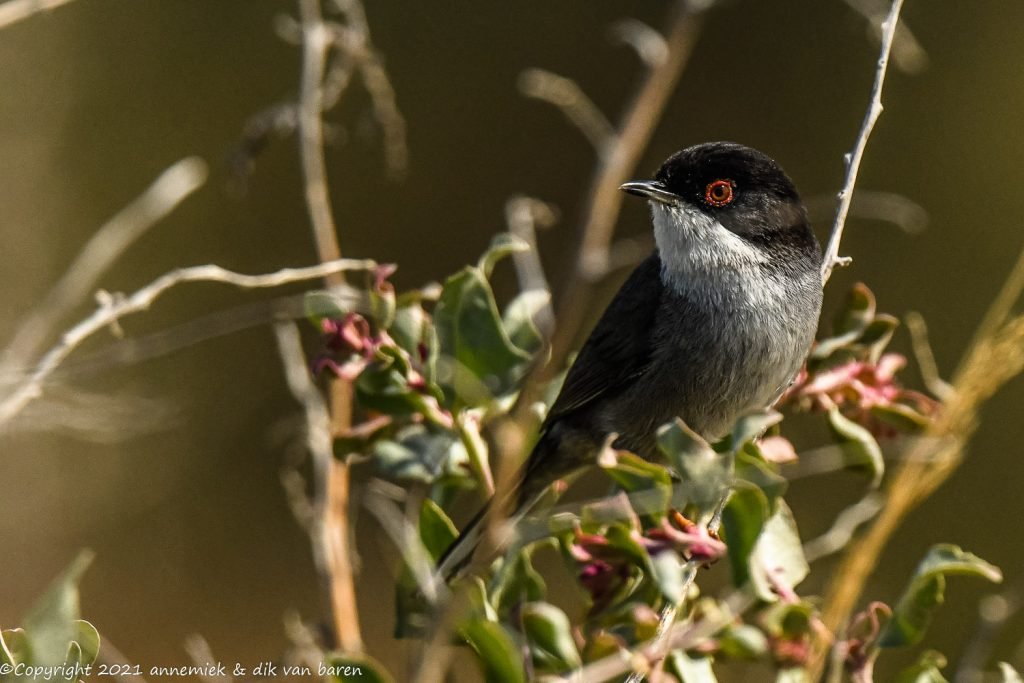
Pictures created using RAW workflow and various photographic techniques
(F11 full screen, mouse click start, Esc stop:)


Pingback: EXPOSURE TIME